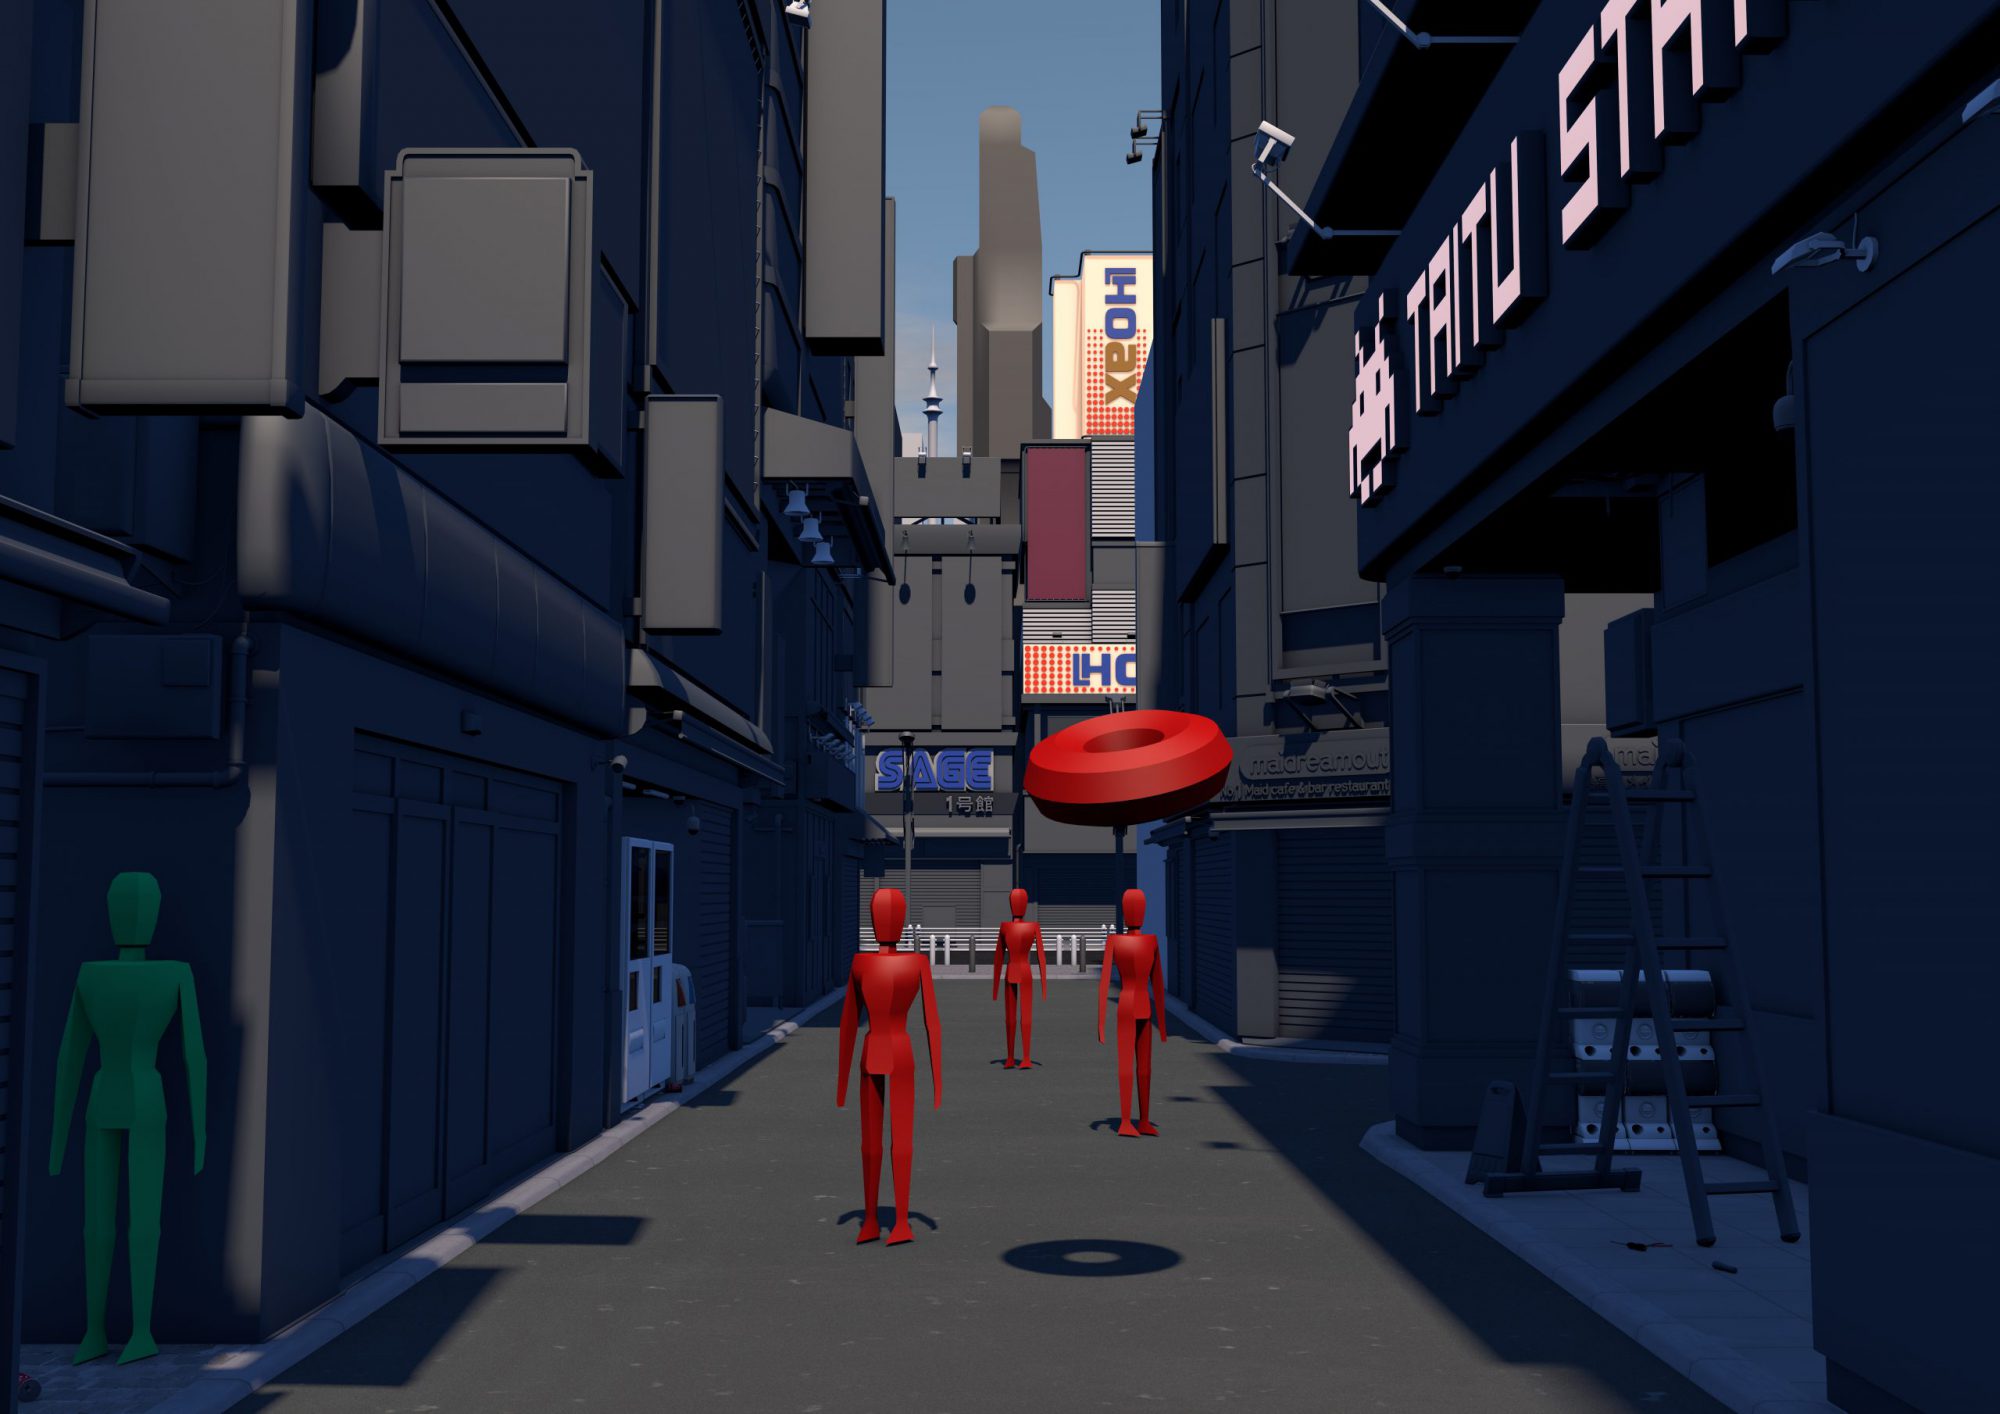
If I had to recap my year 2019 with just one word, it’ll surely would be “3D”. This is the first part of the first series on my blog, where I want to write about the hundreds of hours I put into this one 3D modeling project I did for college last year. It was fueled by ambition and inspiration, blood, sweat and tears, and in the end made me make an important decision that still continues to affect my life. Sounds pretty deep, right? Don’t worry, it doesn’t get too emotional until the very last part, so join me on this 3D modelling story of mine!
The project actually started back in winter 2017 when I was in my third semester, the time when 3D modeling appeared on our curriculum. The goal of the course was to introduce us to 3D modeling, and by the end of the semester we would have to create a 3D scene that fulfilled certain criteria to get a mark and (hopefully) pass the course. It was a 10 ECTS course at my college, so one could say that roughly 300 hours of work were to be expected, though most of the students didn’t even scratch the 200 but still passed the course. Not with necessarily great marks, but still… pass means pass, right? それらの愚か者!
Though I regularily attended the theory and exercise classes, where we learned the basics of the modeling program Cinema 4D and the fascinating world of 3D in general, other courses and activities (I blame Paragon) came up to be very time consuming aswell. So by the end of my third semester, I was stuck with this bad excuse for a prototype of a scene:
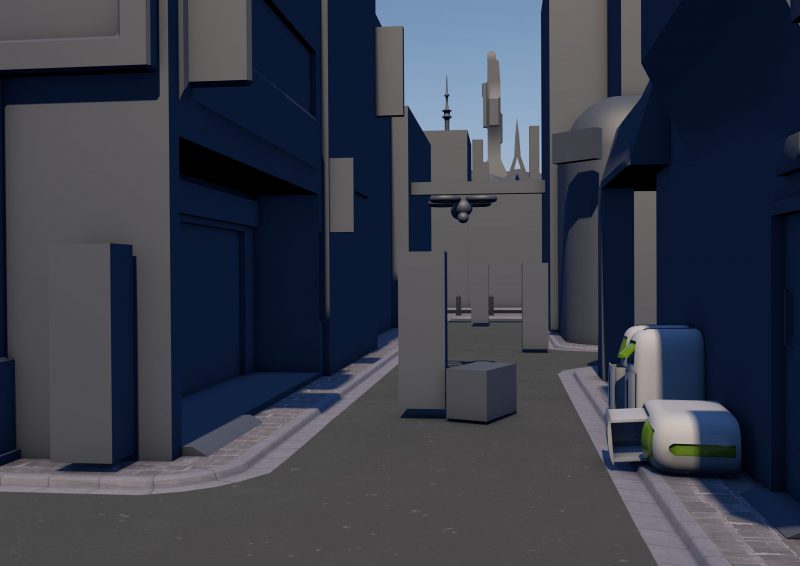
It wasn’t until the mid-late of 2018 that I was ready to tackle the task (or rather aspiration) of creating (one of) the best scene(s) the docent had ever seen. Jokes aside, my actual goal was to create something worth showing to others, yes, maybe even worth showing to companies that could possibly give me a chance of a nice internship. That said, we had a handful of talented aspiring 3D modelers on campus and I had no prior experience with 3D modeling before what so ever. So what’s the more aspirational goal of the two you ask? I will leave that choice to you. At least, the hindrances of the last time were finally gone: that sixth semester’s courses turned out to be rather easy (or maybe I just didn’t attend the lectures) and Paragon was fucking dead, killed by Epic Fails Games theirselves. We all blame Fartnite BR… but I digress.
Coming back to the idea of creating a futuristic city in cyberpunk-style after roughly one and a half year made me change my mind a bit. I reset my goal to create a district of Akihabara in Tokyo, Japan but I wanted to keep the futuristic aspect, at least for a few key elements. Those were pretty much set in stone actually.
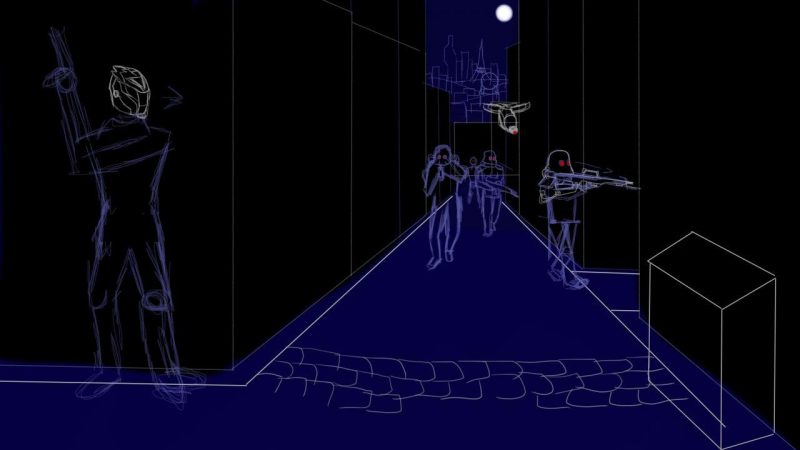
After reassessing the scene for a bit I began with restructuring the layout of the street and positioning the camera to have one vanishing point in the center of the image. Some might argue this made the whole thing a bit more boring but it allowed me to have beautiful buildings visible from both sides of the street.
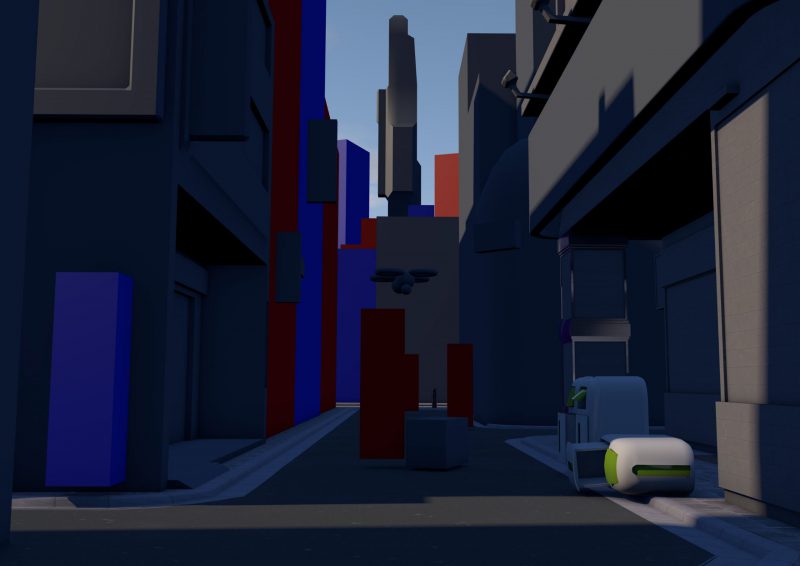
I would regret it later, but I started with one of the most important buildings on the left side of the street. Can you guess what building I mean? Let’s play: What’s a totally cliché building in Japan? At night, where do you have to buy your stuff in Tokyo when every vending machine in your perimeter has gone haywire? Guess what, it’s the same chain store whose name is always butchered to semi-funny ones in anime! Of course I am speaking of Seven Eleven, or should I rather say Eleven Seven? Yes, I transformed this and pretty much every other store name to another constructive variation. Though I got a little more creative than “awazone” or “WacDonalds”… (or even “MgRonalds“… The Devil is a Part Timer, anyone?)
Now, for all of you blessed bastards lucky enough to have visited Electric Town before (or those who boast a wallpaper of Akiba on their desktop) thinking “Wait man, that’s not how streets in Akihabara look like” – I know! There are no konbini in the center of Akihabara, and in no way you can see a skyline from there aswell. But I was in no way planning to recreate a street that actually exists. All I did upfront was setting the heights for the buildings, so that I could still make use of that skyline in the center of the background. It was after I decided on the heights of the buildings I got to choose the most appealing stores. All I was searching for was the goods they sell and how their exterior looks like (and maybe how I could possibly utterly destroy their pride and honor by changing their name into something stupid).
I would change some of the planned store buildings later again anyway, but now I was finally ready to start modeling all the buildings. Before even the first polygon of each model was created, I had to find some images for reference. Since I would not use these images in my project itself, I didn’t have to worry about the license, so I just used my search engine to find some nice shots of the store I wanted to model. Especially if you don’t have a second monitor available, I really recommend using a software like PureRef to manage your reference images. PureRef is “free”, meaning you can select the amount you want to pay for the program yourself. I always used it when modeling, since it helped me a lot.
I had the luxury of having a second monitor on my desk, though, so on my second screen I often would open Google Street View to get a feeling for the depth and some other details of those buildings you couldn’t really make out on plain photographs.

When was roughly halfway through with creating the buildings, I started to move around stuff and creating sketches of how the rest of the buildings should look like, so that most of the signs etc. wasn’t hidden behind other things. The challenge was to find a good compromise between a realistic looking and an aesthetically correct alley, since a lot of Japanese streets in general are overloaded with neon signs, winking and waving chibi figures, info boards, customer stoppers, surveillance cameras and much more. Not only would it have been a lot more models to create, but it’d also look not nice anymore. Also keeping in mind that the scene was going to be a night scene, meaning pretty much every sign was to become a light source, I had to place the signs accordingly, so that they were evenly distributed throughout the street.
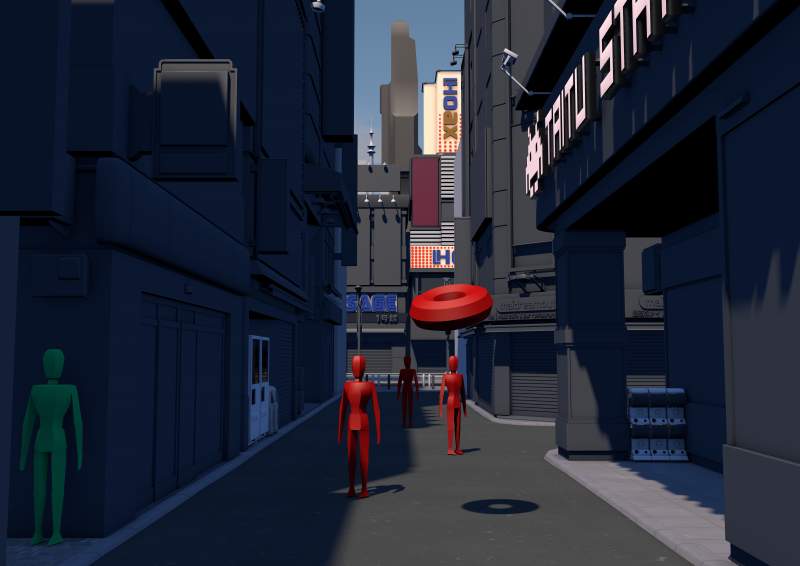
The more buildings came to life, the more the scene started to look like a place that you’d leave in a claustrophobic state. And it was only natural: As the scene started to look more realistic, you could better judge the scaling of it all. During the creation, I resized the street and the distance between some of the buildings multiple times. That said, even though Cinema 4D allows you to model in a realistic scale by offering measuring tools, on-click information about the size of the model et cetera, I didn’t always respect the exact measurements of things, especially for the buildings. At least I always checked if my dummy model would properly fit through the entrance (with some additional leeway of course). Some things were better adjusted with a keen eye than with the measuring tool in my opinion, and that was especially true for the models in the background, because at this distance you just would not notice if something was about one or two meters off, anyway.
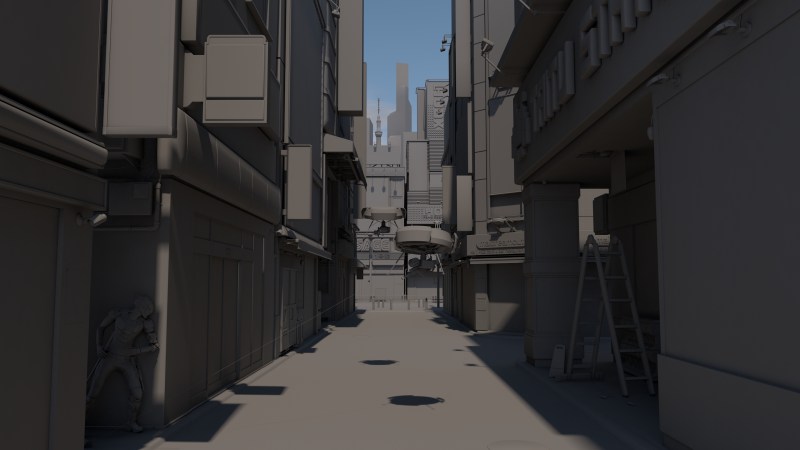
If you ignore the models of the drones and the ninja dude for now, that was my progress so far. After I modeling so many buildings, I had to do something else to keep me motivated – texturing! That was one big portion of the process, and one I maybe spent a little bit too much time on to be honest. Read about it in the second part in the series, where I will also talk about license stuff, image editing and some more modeling!
